
The Boardwright, in every town
Every town’s shop is the Boardwright. It sells chessboards and nine items.
You pay in Pawn Bucks, which you earn by winning games, finishing lessons and taking on stories.
Battle items
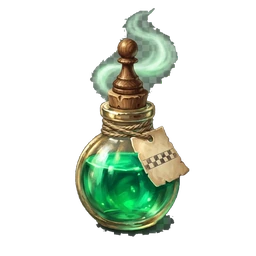
Focus Tonic350Pawn Bucks
Doubles battle experience for fifteen real minutes.
- Use
- Use it from your bag. Every battle you win during the next fifteen minutes gives double experience. Limited to one use per in-game day.
- Notes
- Before a Chess Club or several battles in a row.
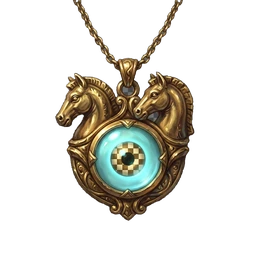
Insight Charm450Pawn Bucks
Adds one hint to the current battle.
- Use
- Open your bag during a battle and select the charm. You gain one hint.
- Notes
- Against a higher-level opponent, when the level difference gives you no starting hints.
Up to 3 per match
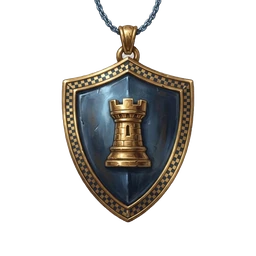
Parry Charm600Pawn Bucks
Blocks the opponent’s next attempt to parry your move.
- Use
- Open your bag during a battle and select the charm. The next time the opponent tries to parry, your move goes through.
- Notes
- Against higher-level opponents, including Chess Club Masters.
Up to 3 per match
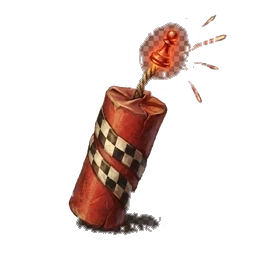
Firecracker950Pawn Bucks
Sacrifices one of your pieces to remove up to two neighbouring pieces. Kings are safe.
- Use
- Select it from your bag during a battle. It chooses the best square automatically.
- Notes
- Any battle except a catch puzzle. Useful when pieces are close together.
Up to 1 per match
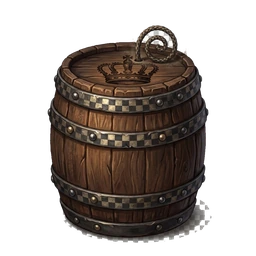
Powder Keg1,800Pawn Bucks
Sacrifices one of your pieces to remove up to three neighbouring pieces. Kings are safe.
- Use
- Select it from your bag during a battle. It works like the Firecracker, with a larger blast.
- Notes
- Any battle except a catch puzzle. Useful when the opponent’s pieces are close together.
Up to 1 per match
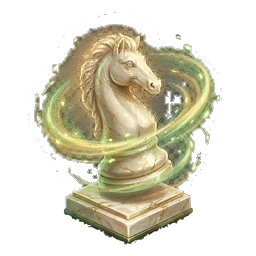
Second Wind2,200Pawn Bucks
Returns your most valuable captured piece to the board.
- Use
- After losing a piece, select Second Wind from your bag. The piece returns to a free square near its starting square.
- Notes
- Any battle except a catch puzzle. Useful after losing your queen if you can still win the game.
Up to 2 per match
Field tools
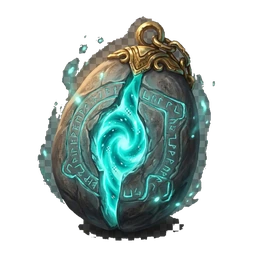
Waystone1,200Pawn Bucks
Takes you to a town square you have already visited. One trip per stone.
- Use
- Open the world map, select a town you have visited and confirm. The stone is used up.
- Notes
- To return to a shop, Chess Club or professor without walking back.
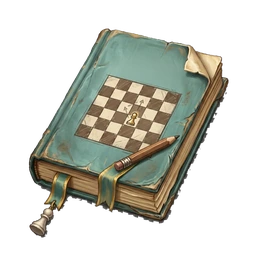
Dog-Eared Workbook1,500Pawn Bucks
Doubles the experience from the next lesson you complete.
- Use
- Keep it in your bag. It is used automatically when you finish a lesson, then consumed.
- Notes
- Before starting a lesson. Every town has a professor.
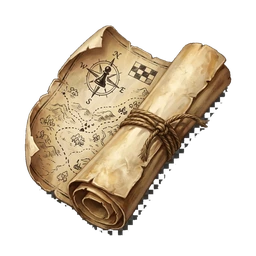
Route Map900Pawn Bucks
Shows how many pieces live on a road, how many you have caught and how many remain.
- Use
- Keep it in your bag. It starts working after you finish the map-maker’s story in Verdant Vale, then checks each road you enter.
- Notes
- When completing a road’s collection.
Your satchel
Your items are kept in one satchel with five shelves (drinks, battle charms, field tools, story items, keepsakes) plus a favourites tab.
- Missing itemsEach shelf lists the items you are missing as well as the ones you own.
- Search and sortType to find an item or reorder a shelf.
- Item detailsSelect an item to read its story, how to use it and where it came from.
- Story items and keepsakes cannot be discardedYou can throw away a spare charm, but never a story item or keepsake.
The Insight Charm adds a hint to the current battle, even if you have not earned any. The Parry Charm prevents the opponent’s next parry. See Parries & Hints.
In the free demo the Route Map is shown but not sold: it only starts working after a story in Verdant Vale, which is past the demo’s end.
the tenth item
The one item no shop sells
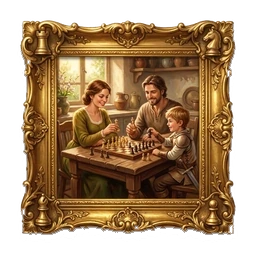
The Family Portrait
A trophy for catching every catchable piece.
Brought down from the attic after you collect every catchable piece in Casteria.
It has no use in battle or on the road, and it cannot be thrown away. It sits in your bag as a trophy.
One other counter in Casteria takes chips instead of Pawn Bucks: the Chessino’s prize counter.
The free demo includes Openfield and Frostford. Your save carries into the full game.